How To Install Kali Linux -17 easy steps guide
Installing Kali Linux on your computer opens up a world of advanced cybersecurity tools and capabilities. In this easy step-by-step guide, we will walk you through the installation process. By following these 17 steps, you will have Kali Linux up and running, ready to explore its powerful features and perform various security testing tasks.

System Requirements
- On the low end:- 128 MB of RAM (512 MB suggested) and 2 GB space.
- On the higher end:- 2 GB of RAM and 20 GB of space.
Preparing for the Installation
- Download Kali Linux (I recommend the image marked Installer).
- Burn The Kali Linux ISO to DVD or image Kali Linux Live to a USB drive. (If you cannot, check out the Kali Linux Network Install).
- Backup any significant information on the device to an outer media.
- Ensure that your pc is set to boot from CD/DVD/USB in your BIOS/UEFI.
Kali Linux Installation Procedure
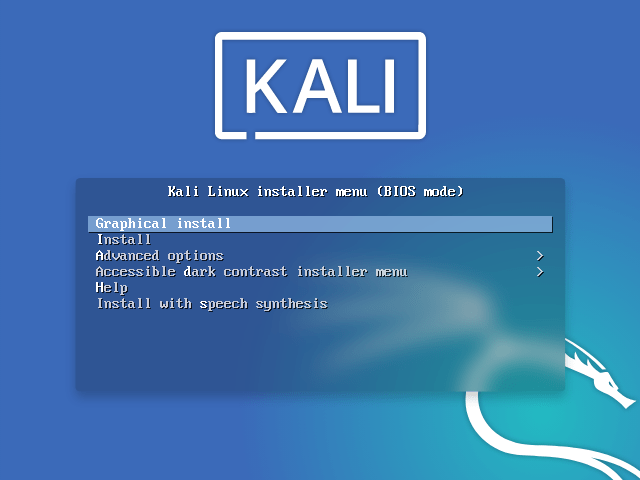
1. To start your installation. Choose either Graphical install or Install (Text-Mode)
2. Select your language (I am selecting English).

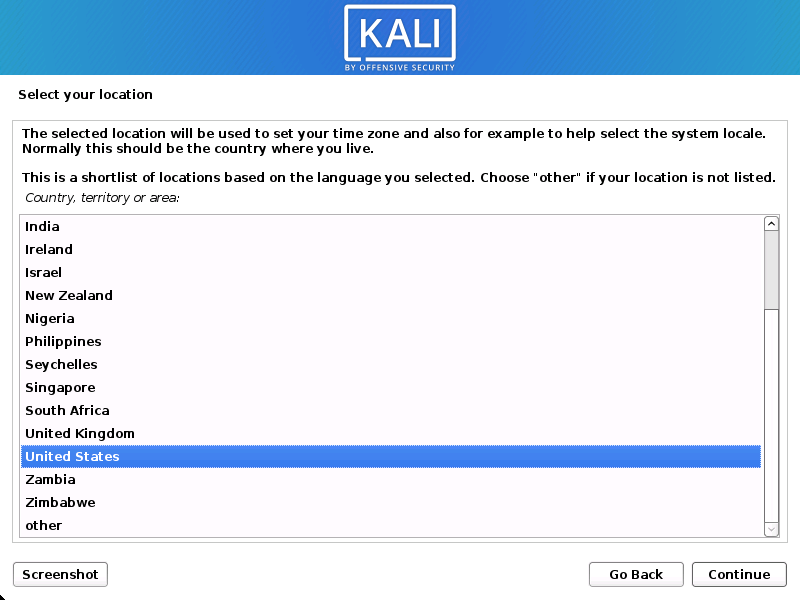
3. Select your location.
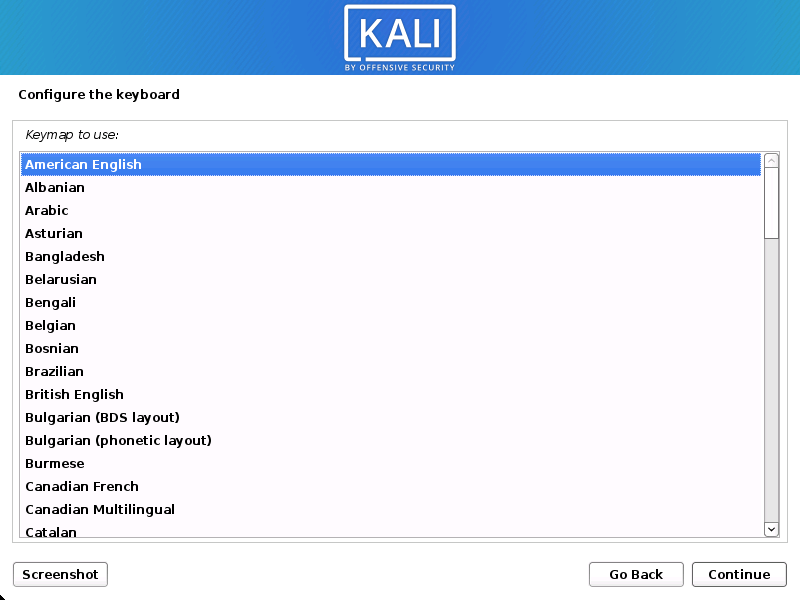
4. Select your keyboard layout.
5. Enter Your hostname.
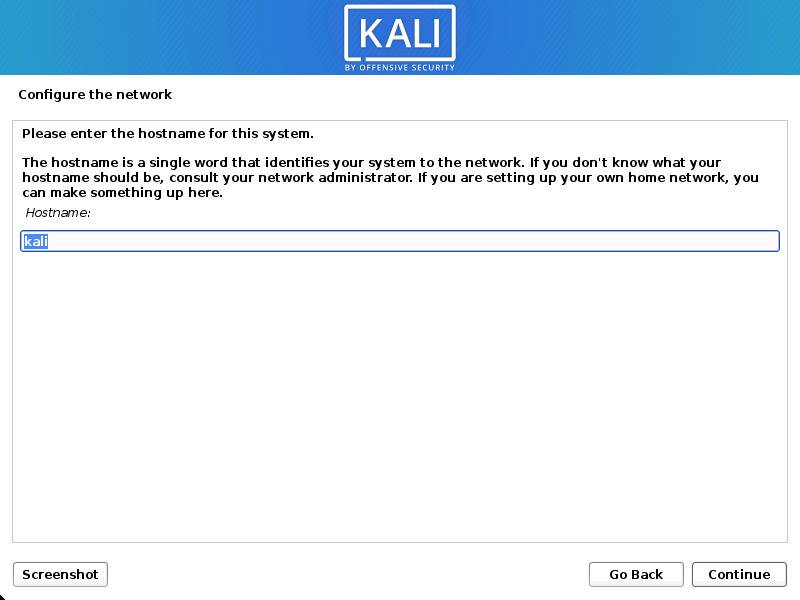
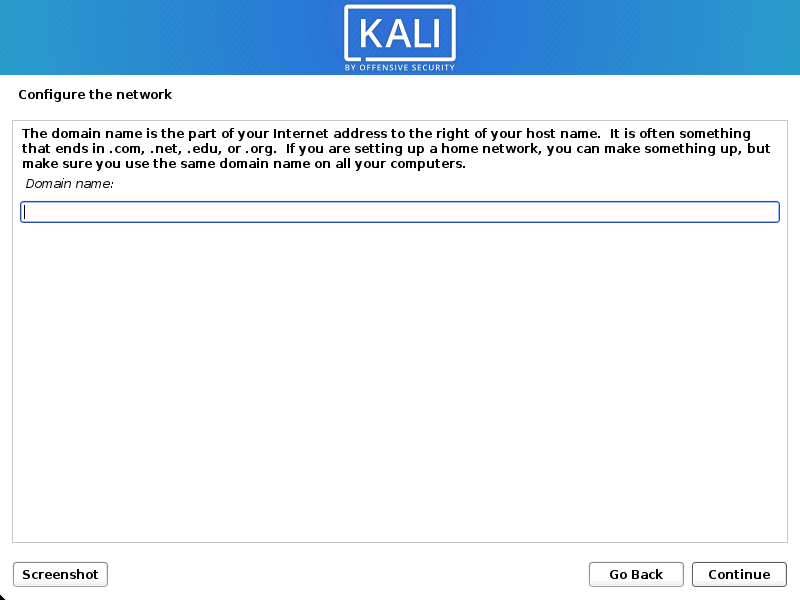
6. If you want to enter the domain name you can enter it optional (I am not Entering).
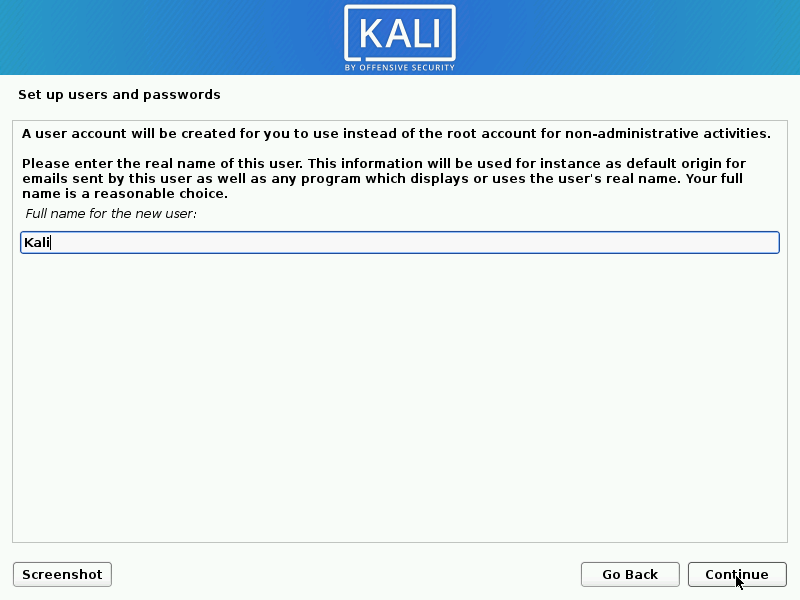
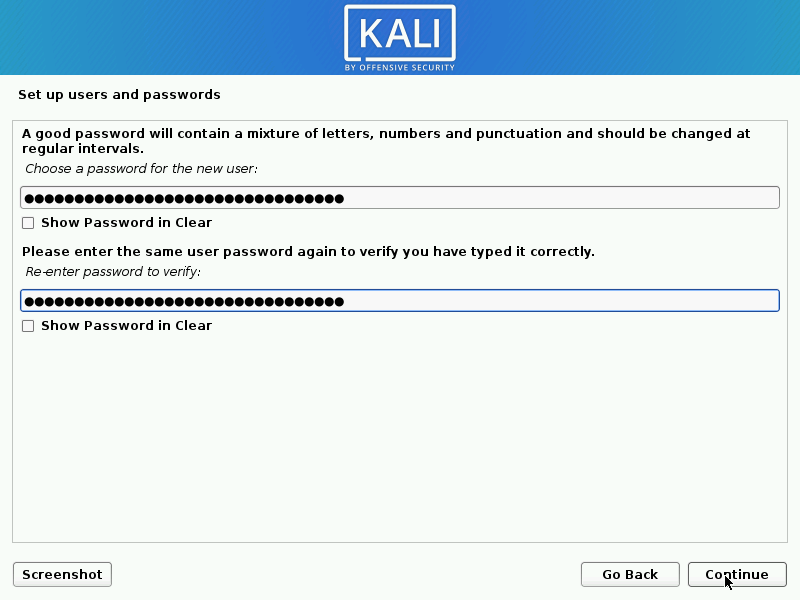
7. Enter Your Full name, username, and a strong password.
8. Next, set your time zone.

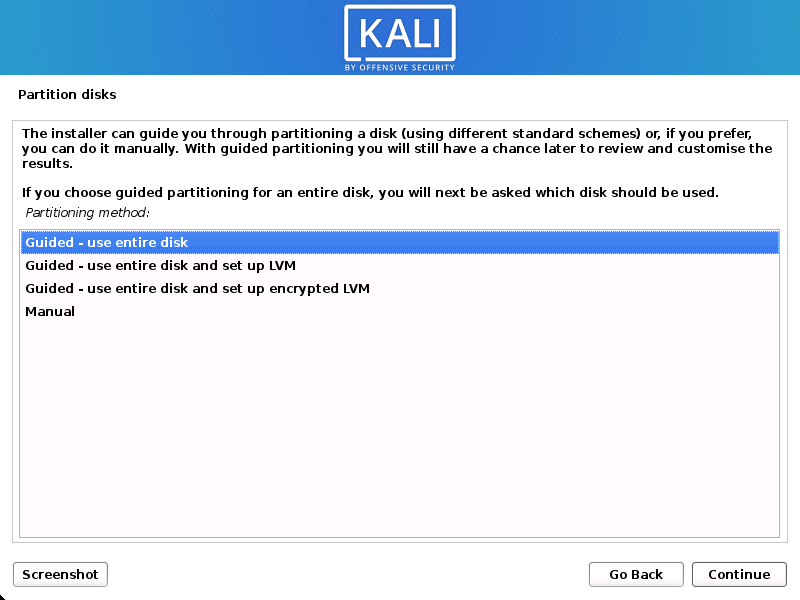
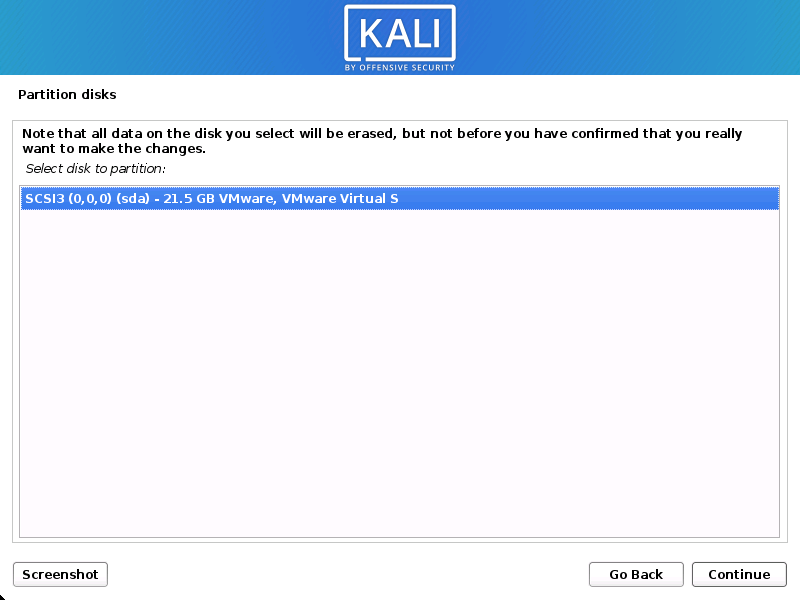
9. Select Your Disk.
Here we are utilizing a clean disk, so we have four choices to pick from. We will choose Guided – the entire disk, as this is the single boot establishment for Kali Linux, so we don’t need some other working operating systems installed, so we are glad to wipe the disk.
Assuming that there is pre-existing information on the plate, you will have an additional choice (Guided – utilize the biggest constant free space) than the example underneath.
If you want to encrypt Kali Linux, you can enable Full Disk Encryption (FDE), by selecting Guided – used entire disk and setup encrypted LVM. When selected, later on in the setup (not in this guide) prompt you to enter a password (twice). You should enter this secret key each time you start up Kali Linux.
10. Select the disk to be parceled.
11. Contingent upon your necessities, you can decide to keep every one of your records in a solitary segment – the default – or to have separate allotments for at least one of the high-level directories.
If you don’t know which you want, you want “All files in one partition”.

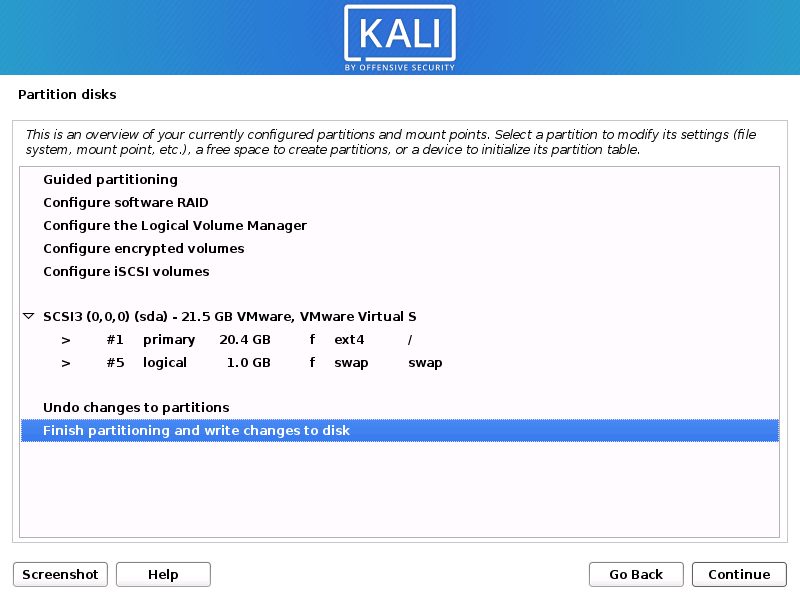
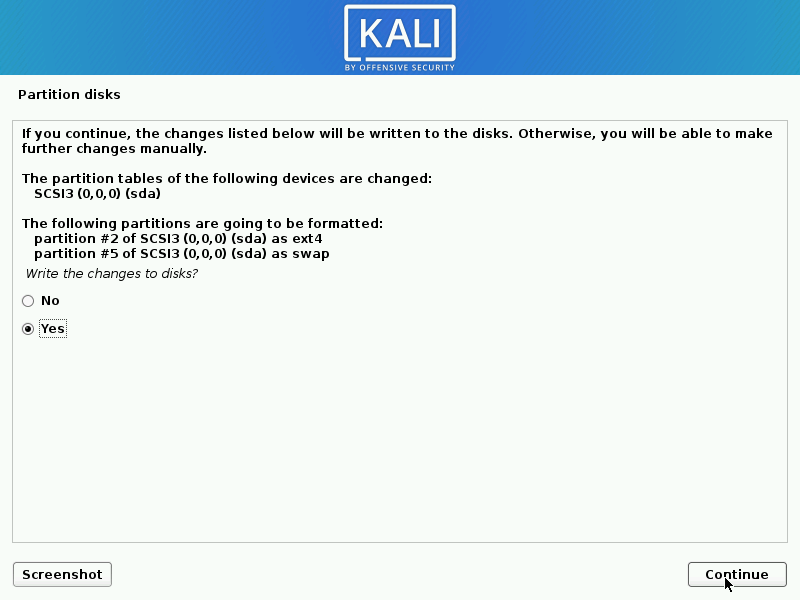
12. Then, you’ll have one final opportunity to review your disk arrangement before the installer rolls out irreversible improvements. After you click Continue, the installer will go to work and you’ll have a nearly completed installation.
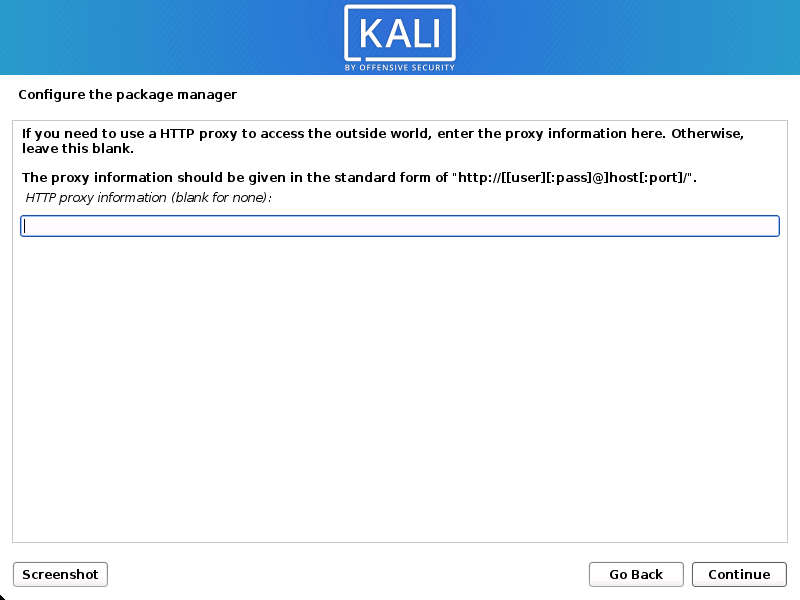
13. Now it asking for Proxy Information just live blank & click continue.
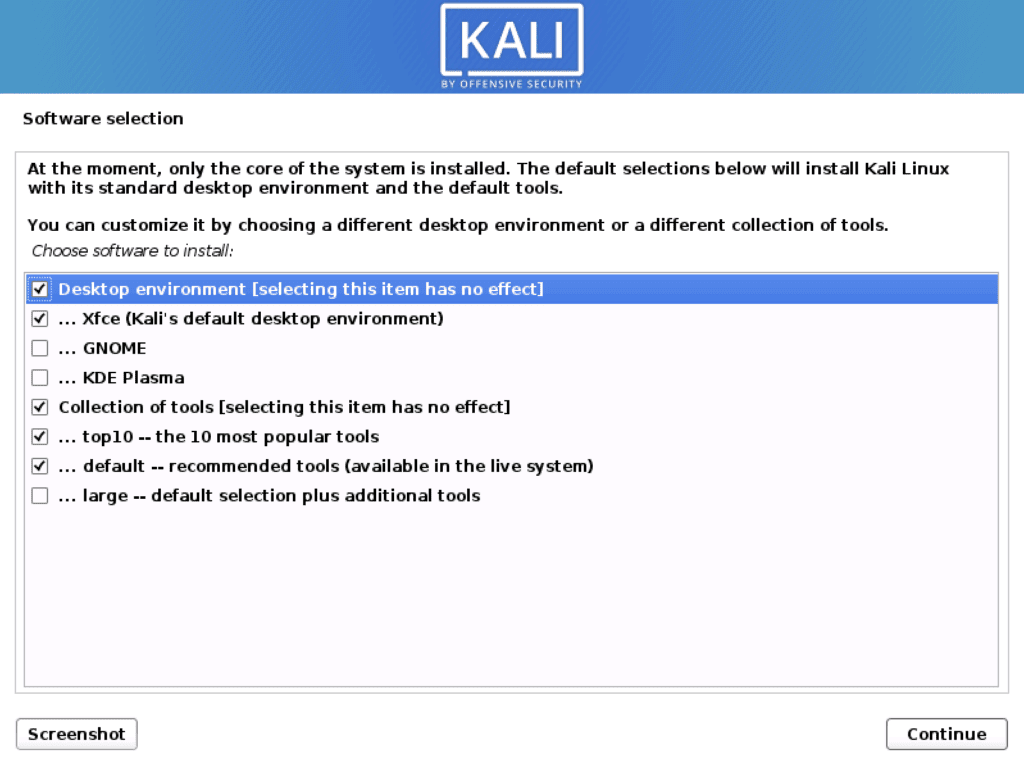
14. Next you can select which metapackages you would like to install. The default selections will install a standard Kali Linux system and you don’t really have to change anything here.
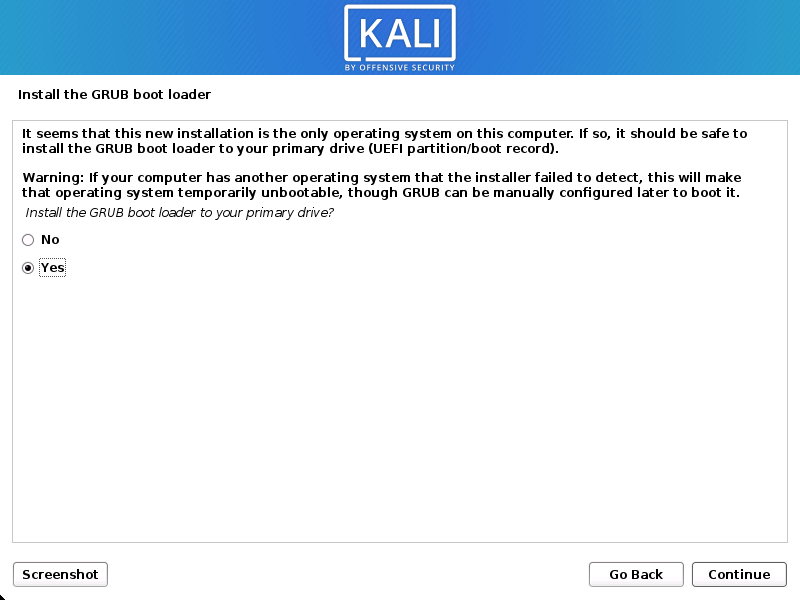
15. Next confirm to install of the GRUB boot loader.
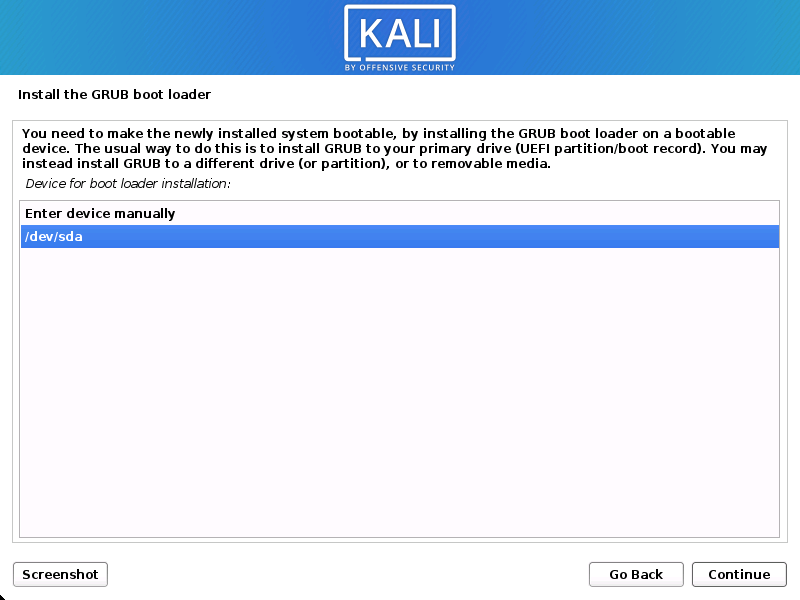
16. Select the hard drive to install the GRUB bootloader in.
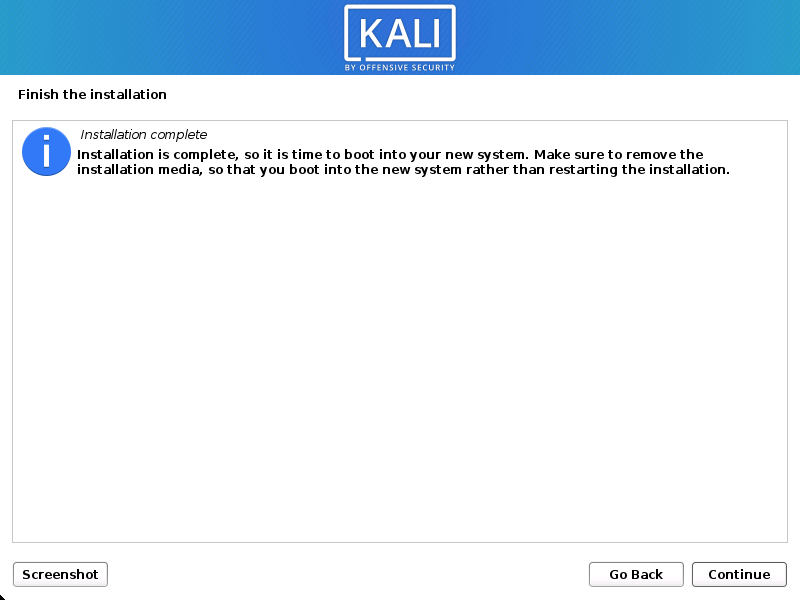
17. Now click Continue to reboot your pc.
Since you’ve finished installing Kali Linux, it’s an ideal opportunity to modify your system.
You can follow us on – Pinterest
You May Also Like:-